
【TextView】Android開発基礎シリーズ – XMLレイアウト編
こんにちは、水珈琲です。この記事では、Androidアプリ開発におけるTextViewの基礎的な使い方を紹介します。当シリーズでは基本的にLinearLayoutを使用しています。
画面に配置する
好きな位置に以下のように緑の部分を追記してみましょう。
<?xml version="1.0" encoding="utf-8"?>
<LinearLayout xmlns:android="http://schemas.android.com/apk/res/android"
    xmlns:app="http://schemas.android.com/apk/res-auto"
    xmlns:tools="http://schemas.android.com/tools"
    android:layout_width="match_parent"
    android:layout_height="match_parent"
    tools:context=".MainActivity">

    <TextView
        android:id="@+id/textView"
        android:layout_width="wrap_content"
        android:layout_height="wrap_content"
        android:text="TextView" />

</LinearLayout>
android:id="@+id/の後は好きなIDに変更しましょう。@+id/は、ざっくり言うと新しいIDを設定するよ!という意味です。
android:layout_width="wrap_content"は、layout_width(横幅)をwrap_contentに設定する(内容の幅に合わせる)という意味です。
android:layout_height="wrap_content"も同じように、layout_height(縦幅)をwrap_contentに設定する(内容の幅に合わせる)という意味です。
実際にコードを書くと以下のようになります。

つまり、ここでは「TextViewという文字に合わせたサイズのTextViewをtextViewというIDで新しく作る。」という意味になります。
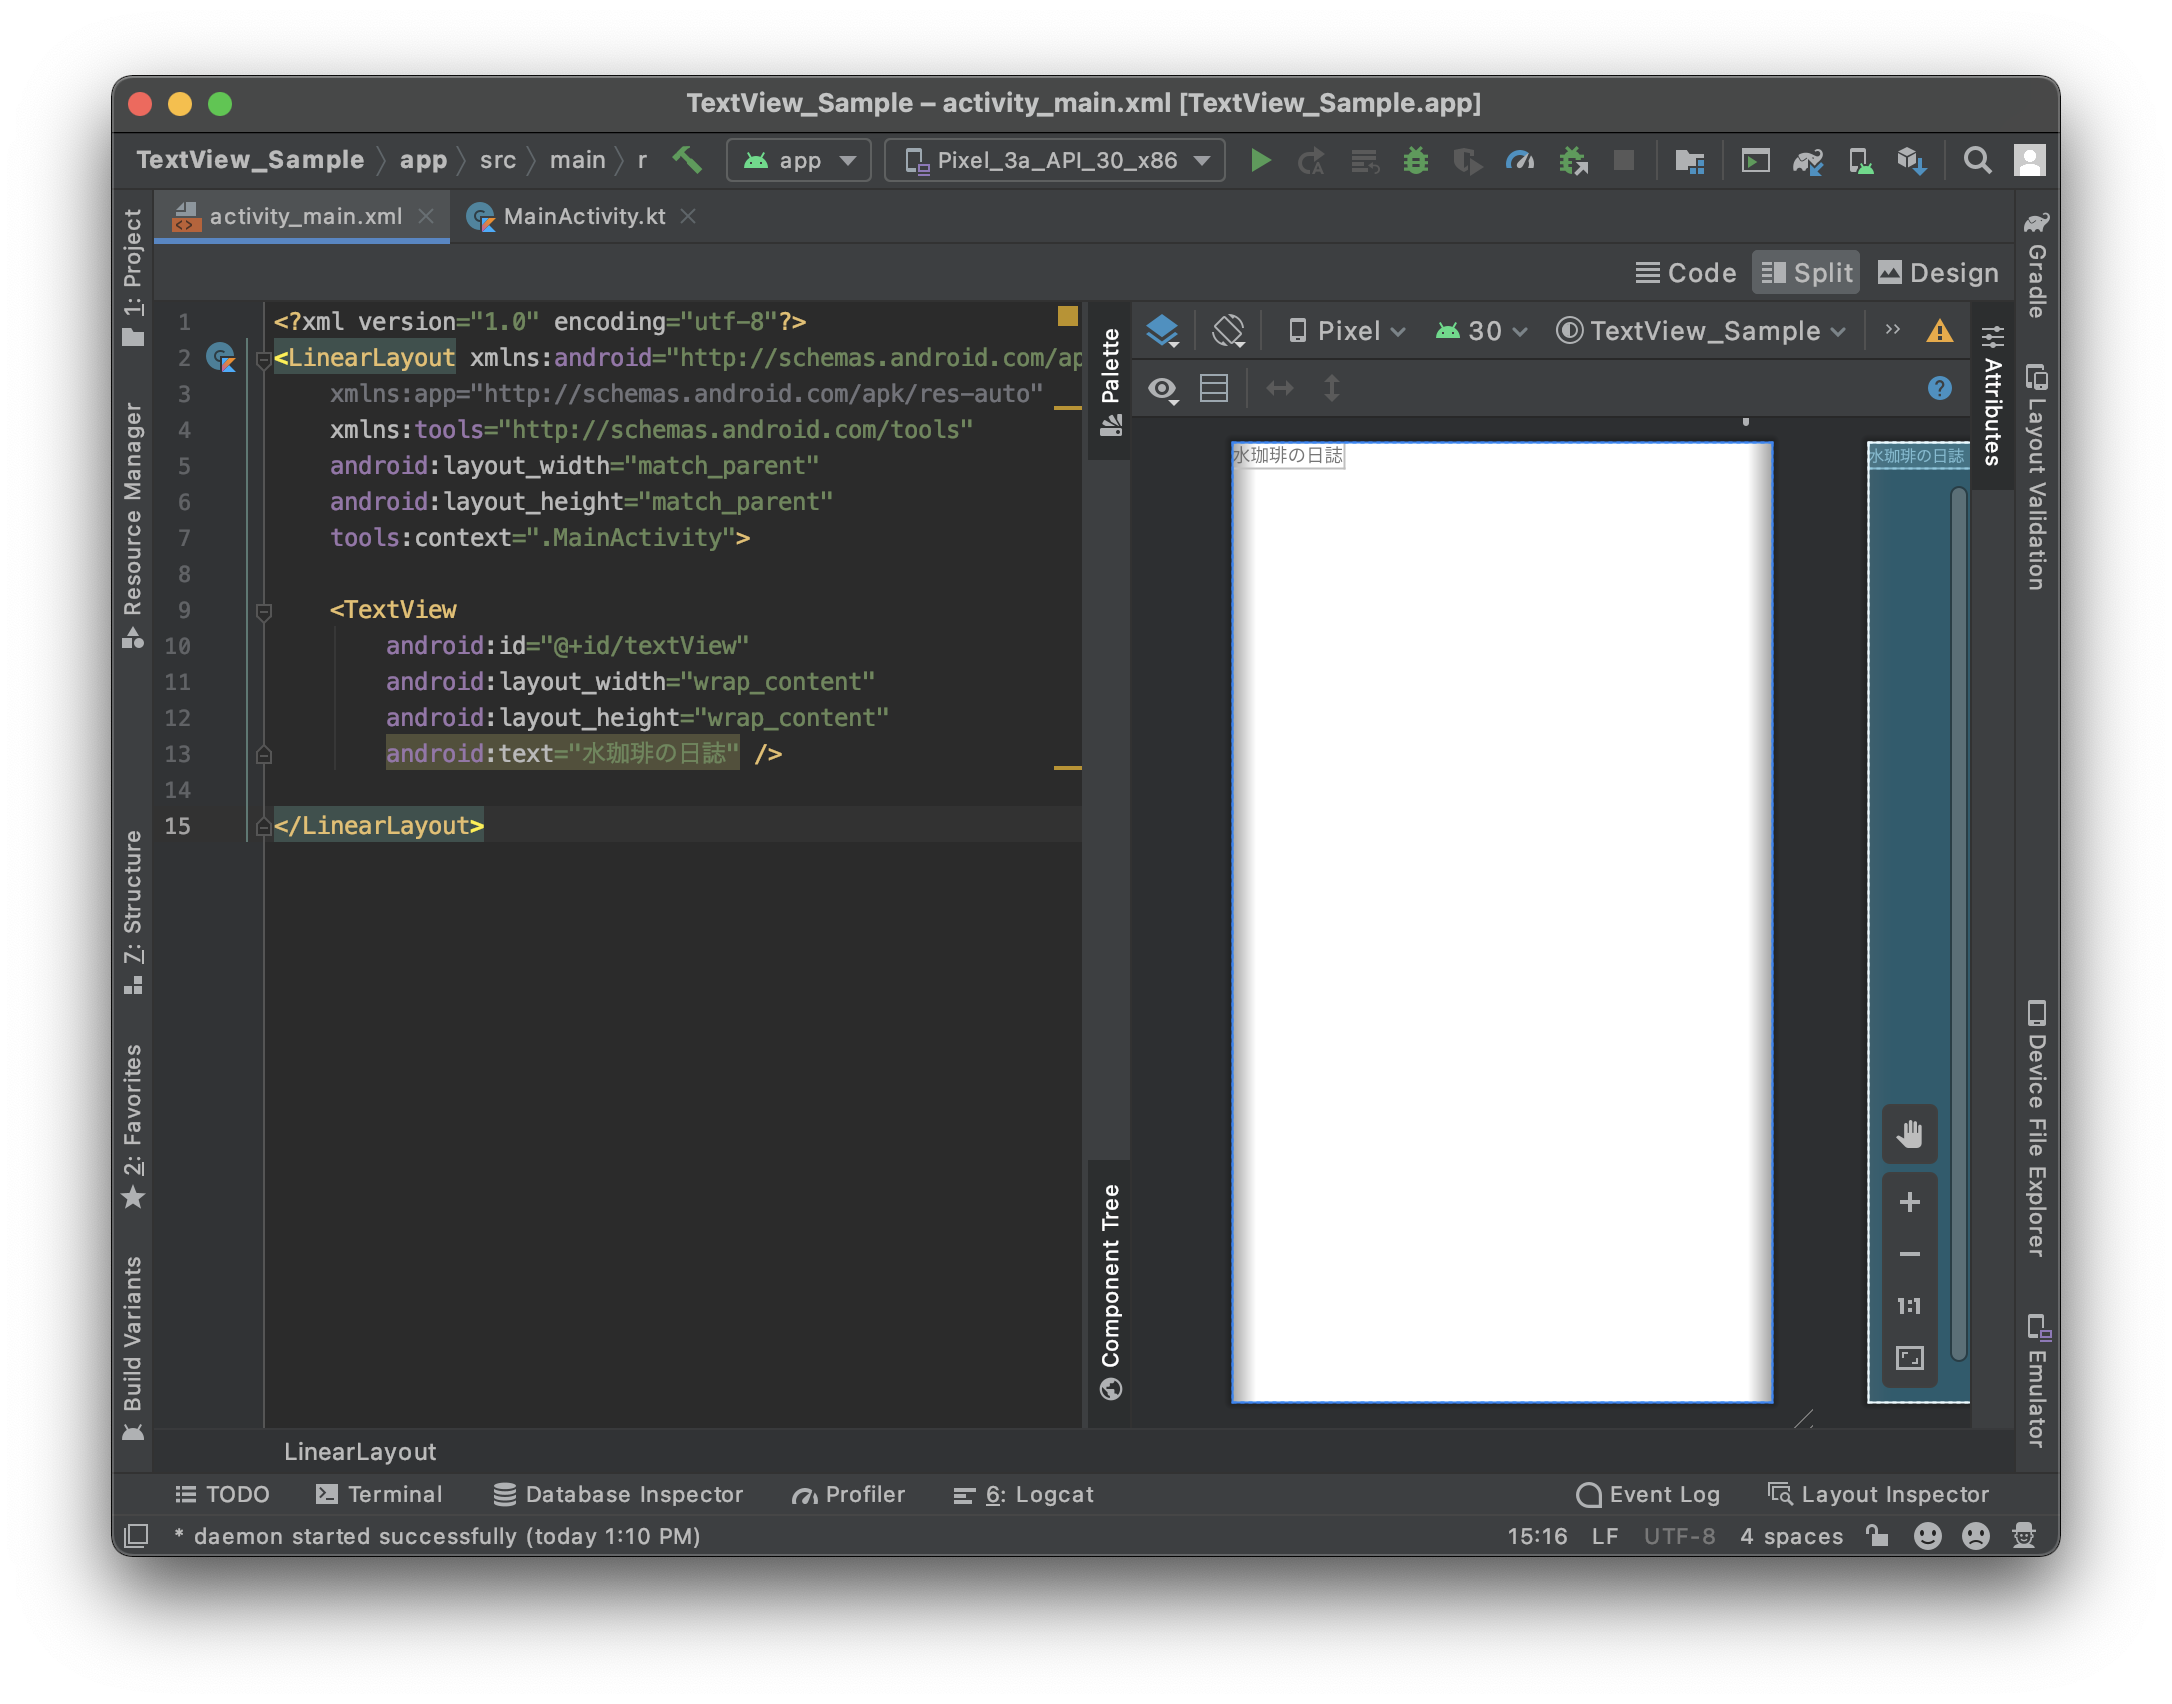
文字を変える
XMLでのレイアウトではandroid:text=""で文字を設定することが出来ます。
ここではブログ名の「水珈琲の日誌」にしてみましょう。
<TextView
    android:id="@+id/textView"
    android:layout_width="wrap_content"
    android:layout_height="wrap_content"
    android:text="水珈琲の日誌" />
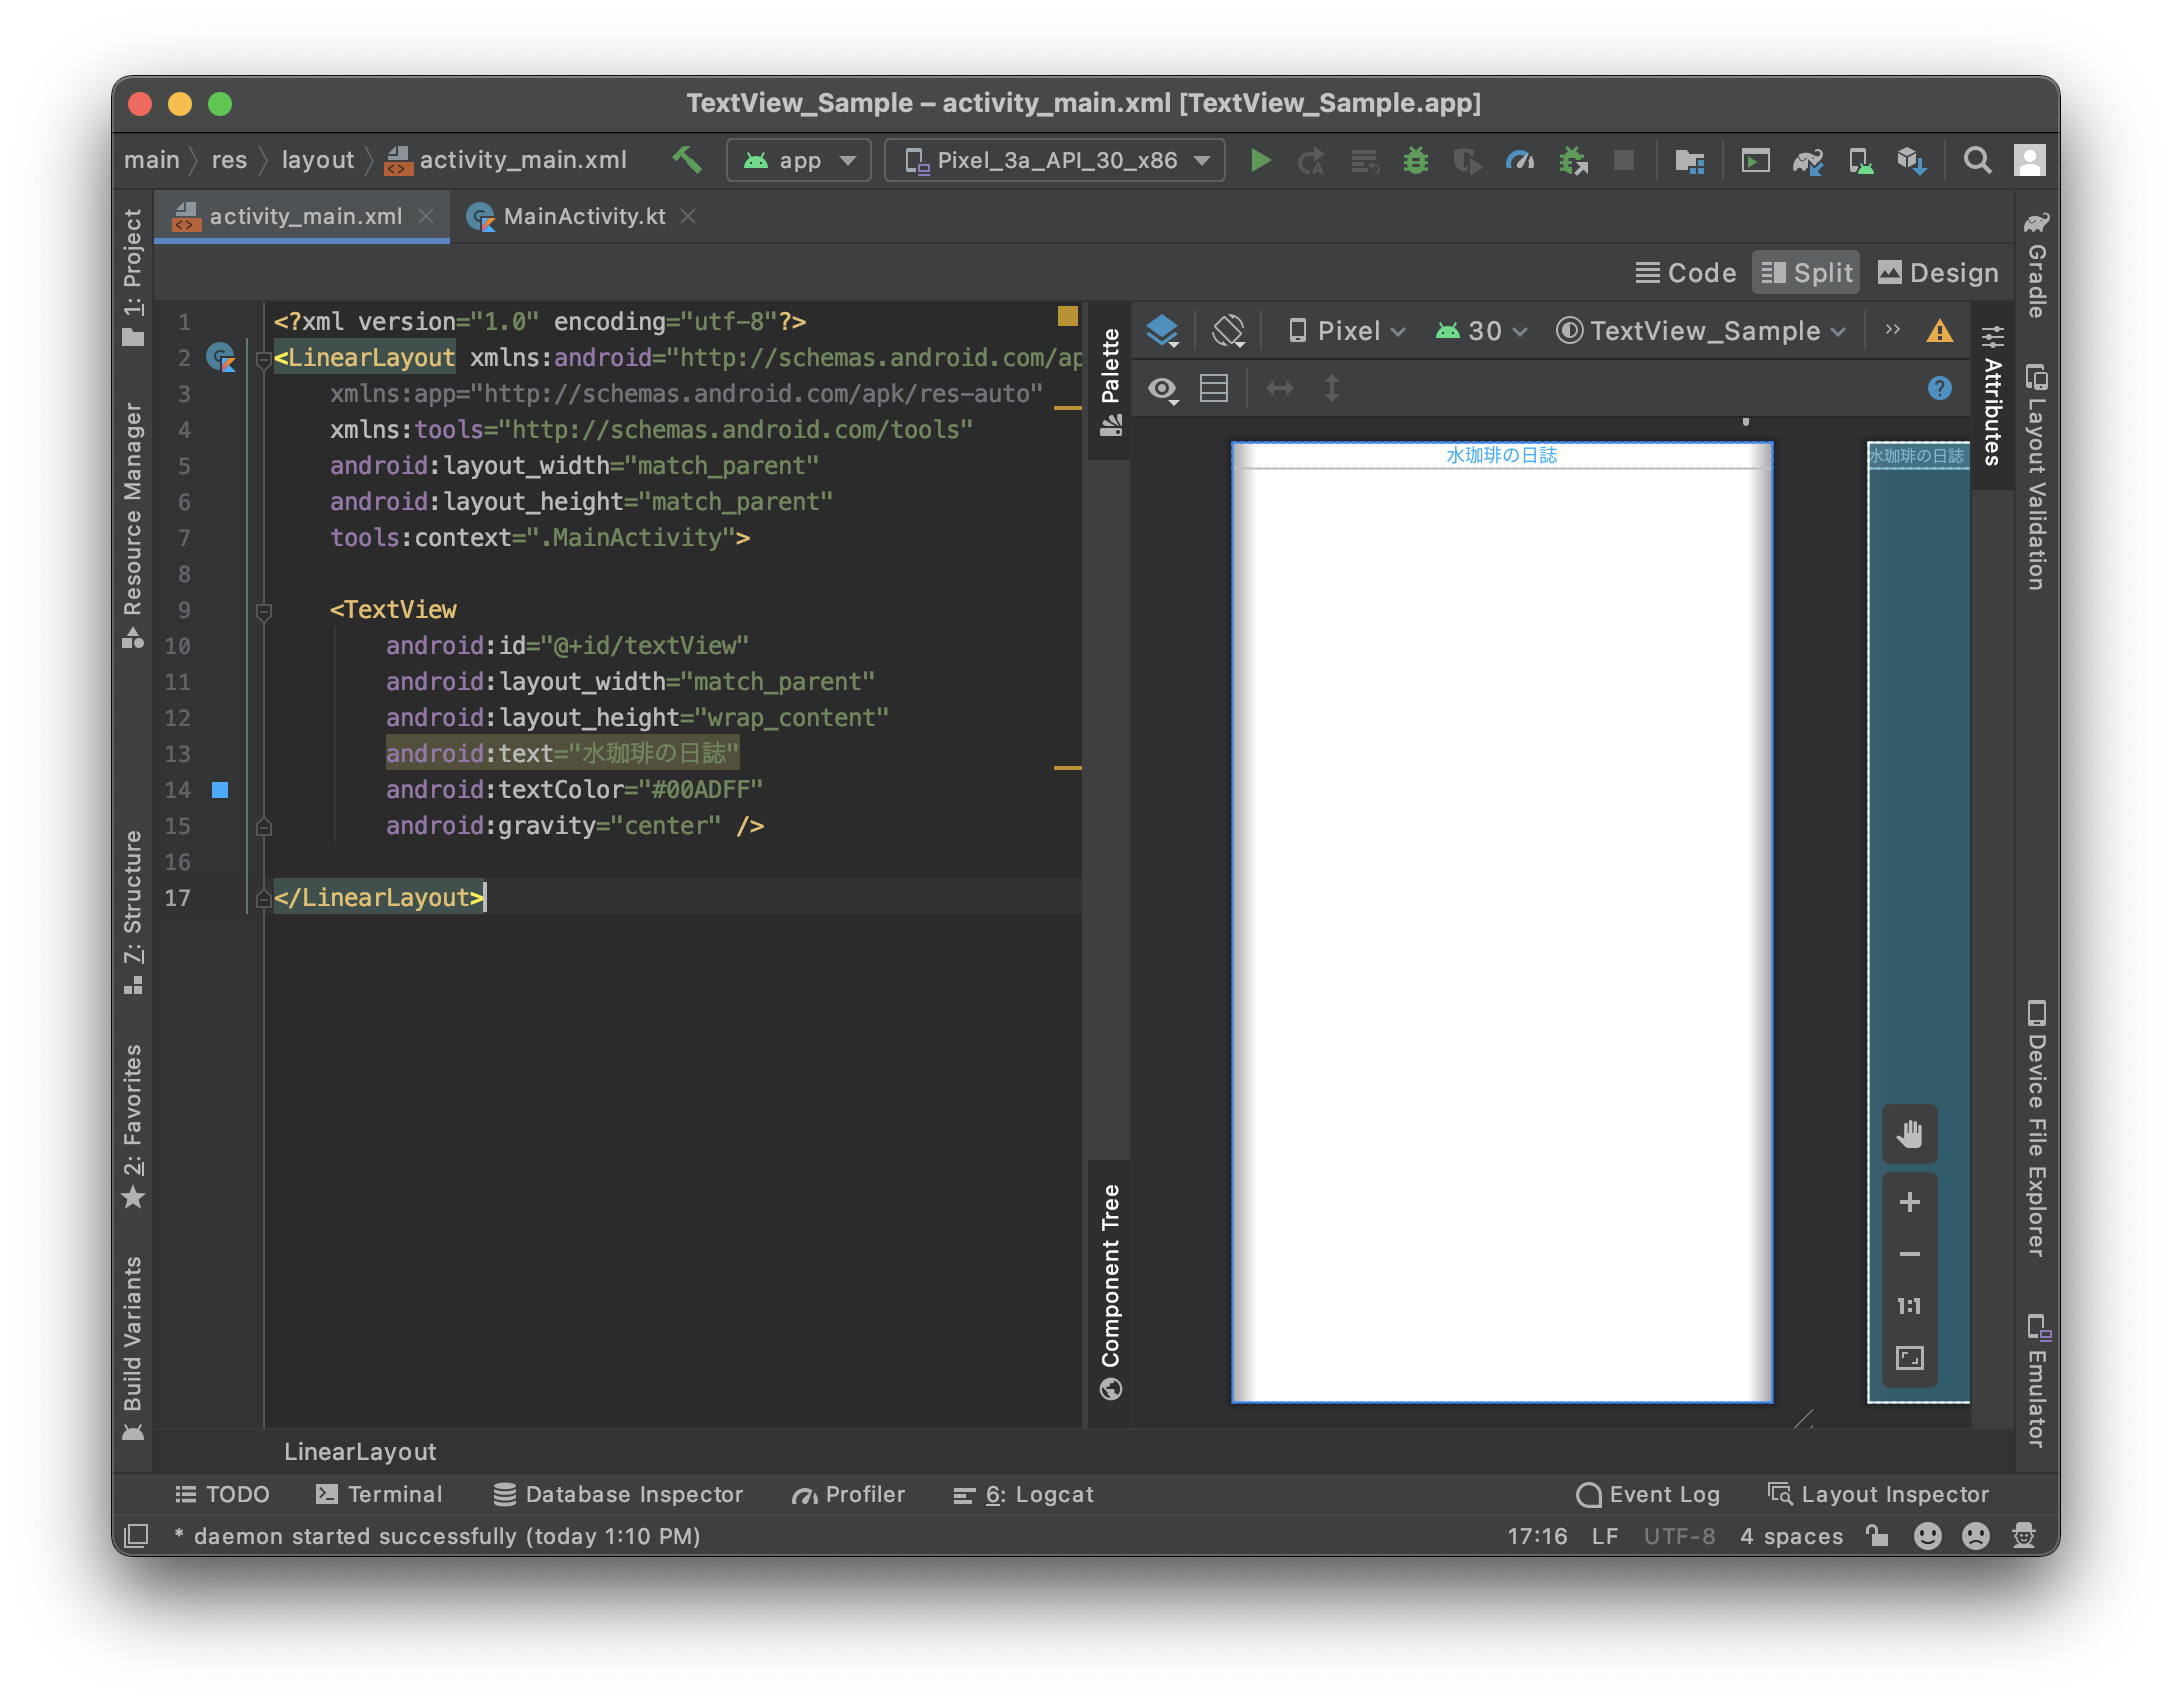
色を変える
色を設定するにはandroid:textColor=""を使用します。textColorにはリソース名か、カラーコードを設定する事ができます。
ここでは青っぽい色である「#00ADFF」にしてみましょう。
<TextView
    android:id="@+id/textView"
    android:layout_width="wrap_content"
    android:layout_height="wrap_content"
    android:text="水珈琲の日誌"
    android:textColor="#00ADFF" />

中央揃えにする
中央揃えにするにはandroid:gravity=""を使用します。これは要素のエリア内でどこに寄せるかを指定するものです。具体的には以下のような感じになります。
<TextView
    android:id="@+id/textView"
    android:layout_width="wrap_content"
    android:layout_height="wrap_content"
    android:text="水珈琲の日誌"
    android:textColor="#00ADFF"
    />
しかし、このままでは中央揃えにはなりません。なぜならgravityは先述したとおり、TextViewの枠の中でどこに表示するかを設定するものだからです。
なので、枠のサイズを画面幅いっぱいにしてしまいましょう。
<TextView
    android:id="@+id/textView"
    android:layout_width="match_parent"
    android:layout_height="wrap_content"
    android:text="水珈琲の日誌"
    android:textColor="#00ADFF"
    android:gravity="center"/>
match_parentは親要素と同じ大きさにするという意味です。ここではLinearLayoutの幅に合わせる形になります。
これで、中央揃えにすることが出来ました!
文字サイズを変える
文字サイズの設定にはandroid:textSize=""を使用します。ここでは32spにしてみましょう。
<TextView
    android:id="@+id/textView"
    android:layout_width="match_parent"
    android:layout_height="wrap_content"
    android:text="水珈琲の日誌"
    android:textColor="#00ADFF"
    android:gravity="center"
    android:textSize="32sp"/>
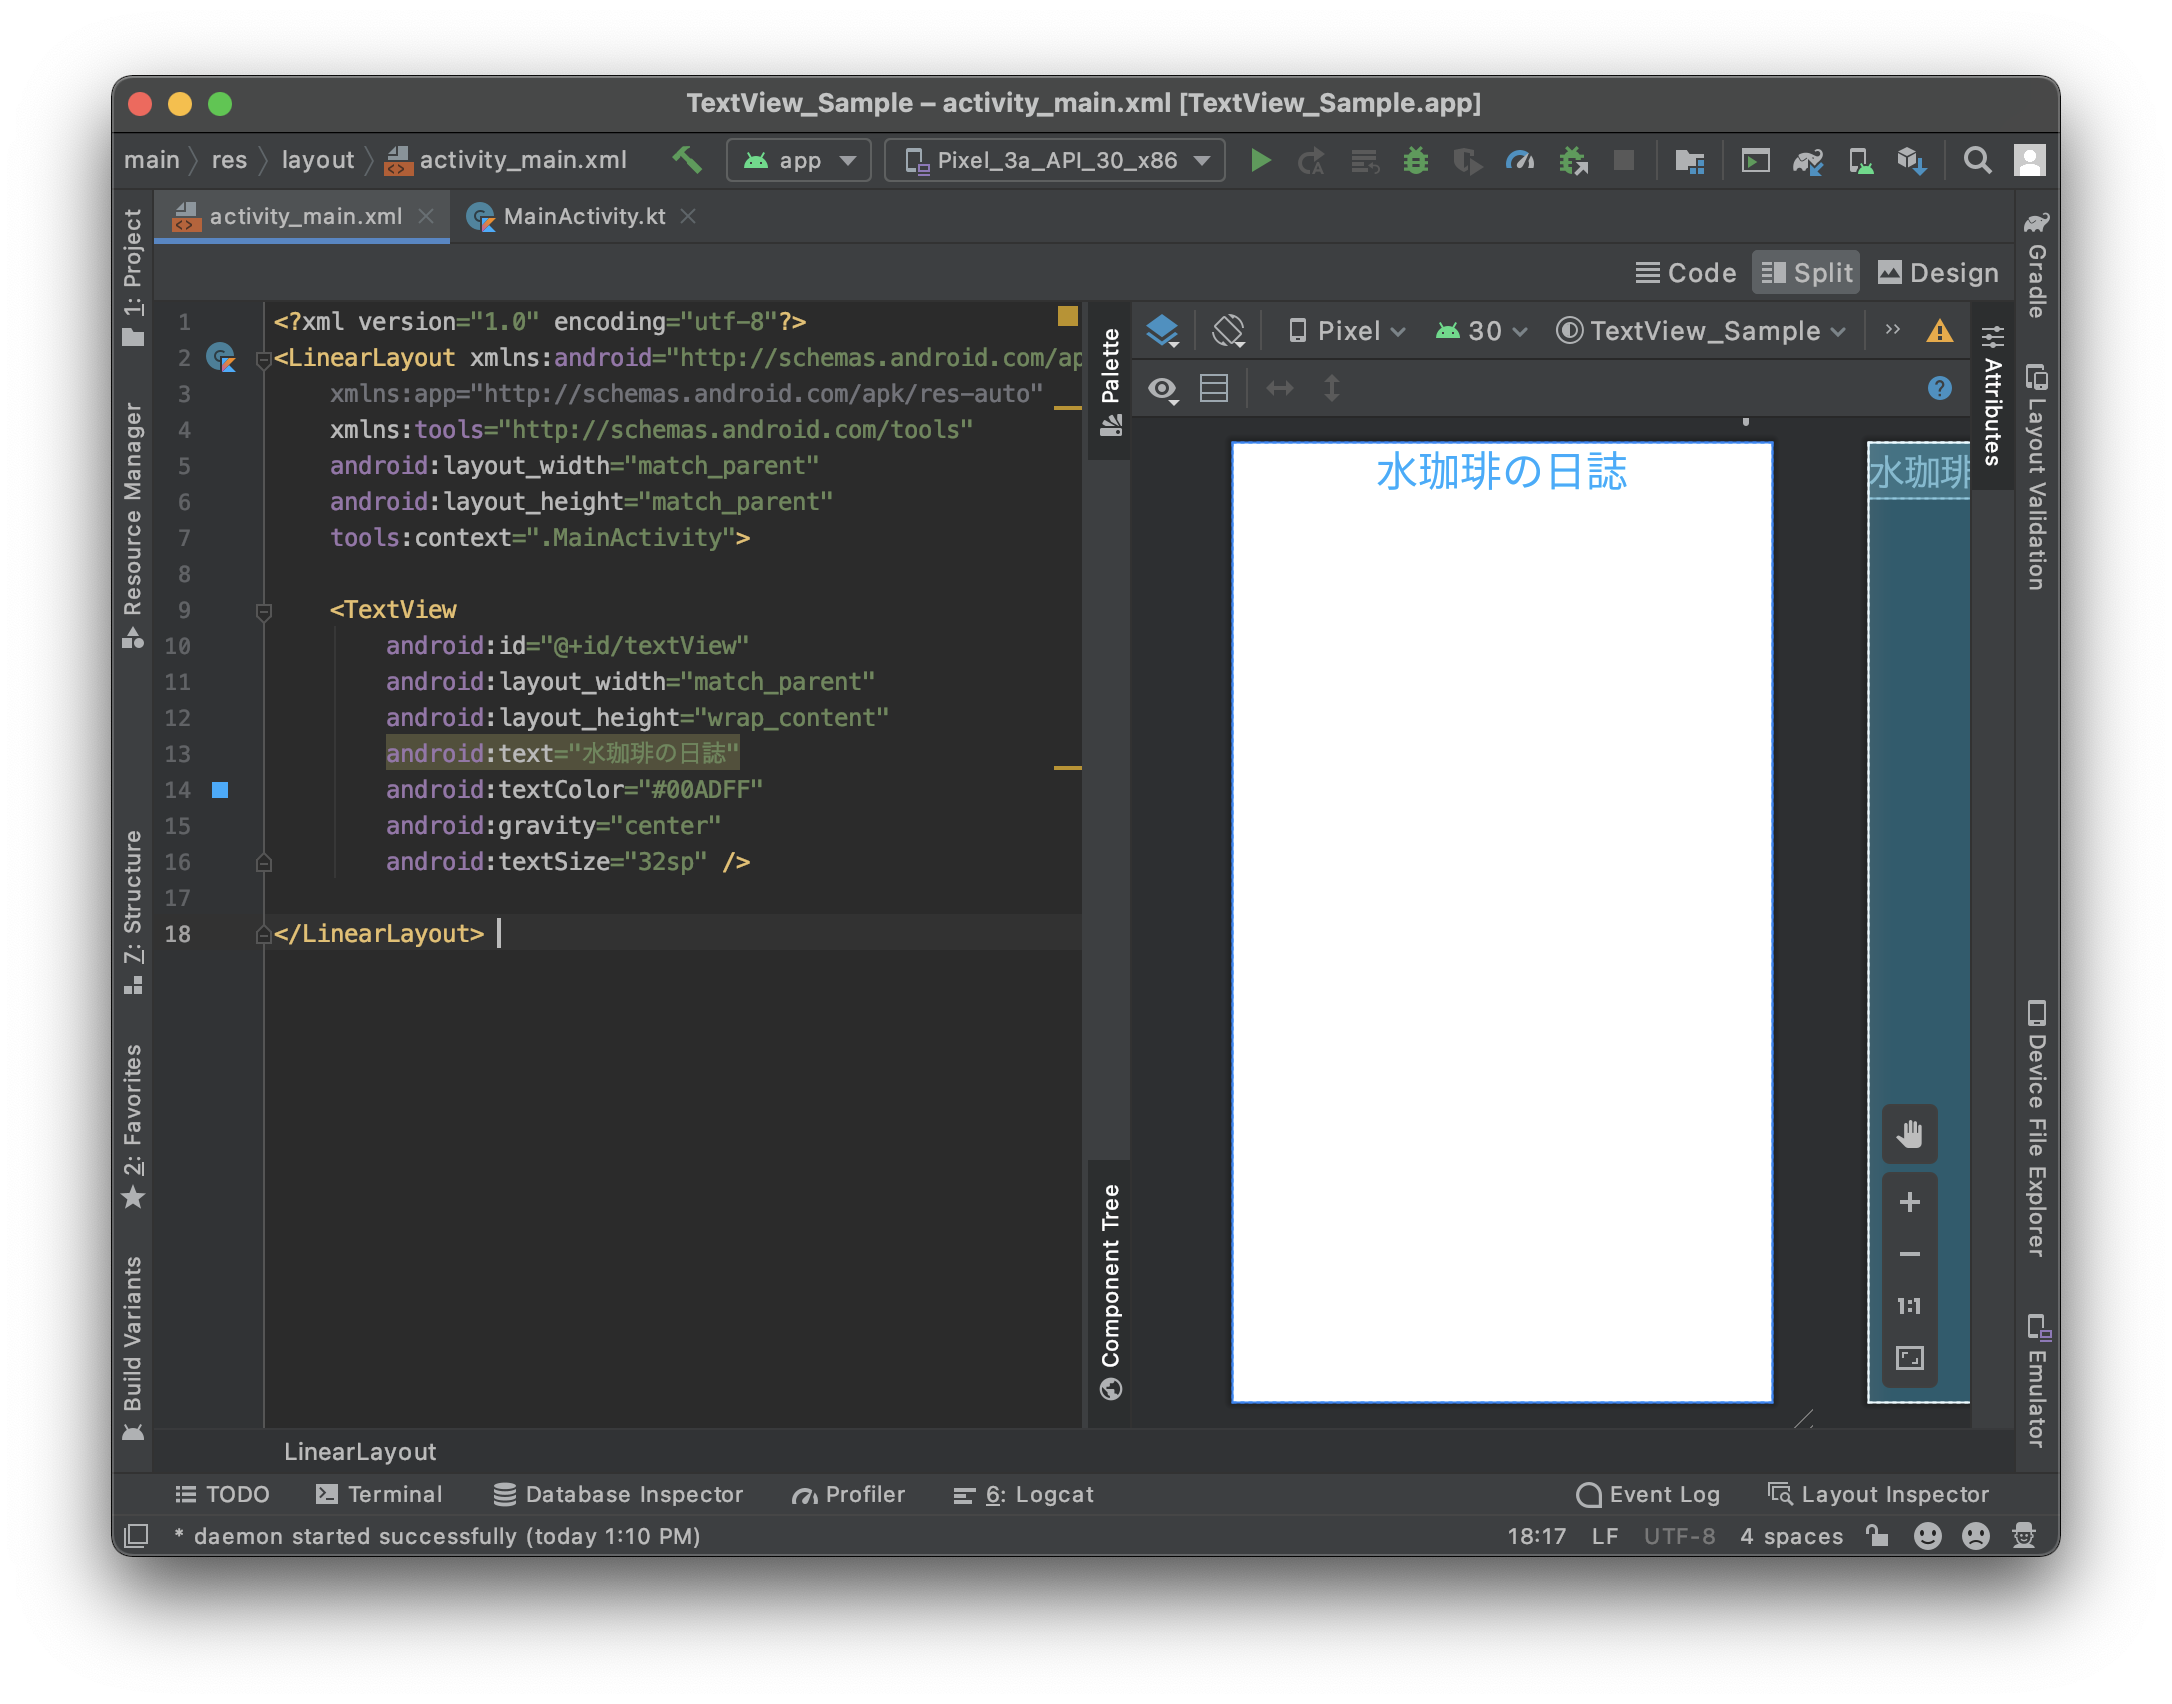
このようにすると、画像のように文字が大きくなるはずです。
文字の大きさを指定する時はspという単位を使用します。基本的にdpと同じですが、端末の文字サイズ設定によりサイズが変動するようになります。